


Home brewing made easy...I hope
Added: Saturday, March 29th 2014

In a foreword to a book on the subject I once wrote that “I am to home brewing what Attila the Hun was to land reclamation”. I have a long and dismal record of stuck fermentations and undrinkable beer. As a result, I haven’t touched a can of malt extract or a sachet of dried yeast for years.
But encouraged by Greg Hughes, author of the excellent Home Brew Beer (Dorling Kindersley, £14.99), I accepted the challenge to tackle The BruBox. This is home brewing for fumble fingers, with all possible risks removed.
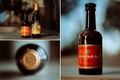
The BruBox has been developed by Brupaks, a major supplier of home-brewing equipment. The kit promises 10 litres of “fantastic quality beer”, with a choice of London Bitter, Irish Extra Stout or Bavarian Pilsner. Brupaks says it uses the finest quality malt extract with fresh hops and grain.
The system is easy to follow, with an informative leaflet that takes you through every stage of the brewing process. The centrepiece of the kit is a polythene cube that acts as mash tun, copper and fermenter all rolled into one. As I’m wary of brewing proper lager at home, I chose the Irish Stout as my guinea-pig first brew.
I started by thoroughly washing the cube and its attachments with steriliser: important to keep the bugs at bay. I stood the can of malt extract in a saucepan of hot water for 15 to 20 minutes while two bags, similar to large tea bags, containing additional grain and hops were steeped in a jug of boiling water for 15 minutes.
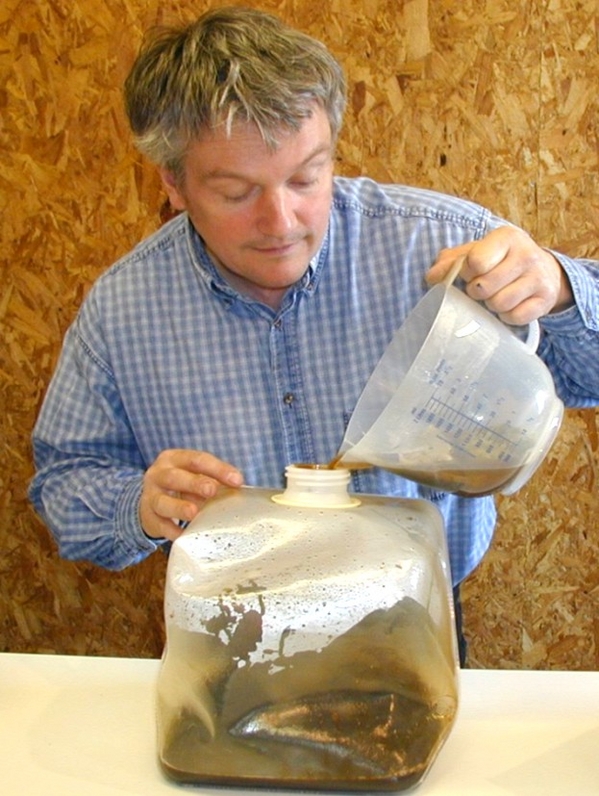
I strained the liquid from the jug into the cube and covered the bags with a further litre of boiling water, left the jug for five minutes and then added the liquid to the cube. Then it was time to add the malt extract. The can was remarkably easy to open and is so light that it’s possible to squeeze the top to form a spout and pour the contents into the cube.
I rinsed out the can with very hot water, added that to the mix, screwed the cap onto the cube and gave it a vigorous shake. I topped up the container with cold water and fixed a self-adhesive thermometer strip. Then it was time to add that vital ingredient: the yeast.
The first fiddly bit arrived. After shaking the cube to make sure the yeast was mixed into the wort, I had to attach a tube to the tap and place the end of the tube in a glass of cold water alongside the cube. The aim is to monitor bubbles of Co2 passing from the cube through the tube to show that fermentation is under way.
I hit my first snag. I placed the cube in a small room. Even with the central heating on, the temperature didn’t rise above 18 degrees and fermentation refused to start. The instructions say 20 degrees so I moved the cube, which is a bit squidgy, to the airing cupboard, a safe haven used by many home brewers.
Fermentation soon started in this warmer environment and hit 24 degrees. Not only bubbles of gas but also wort rose from the cube and went down the tube in to the glass.
Hey – I’ve invented the Burton Union system!
I had to empty and refill the glass several times a day for two days until fermentation quietened down. I suspect it won’t last for 10 days, as the leaflet suggests. As I’ve lost a fair amount of wort, I will have to top up the cube with water when fermentation stops.
In 24 hours I will have to add some sugar to encourage a strong second fermentation, close the tap and leave the cube for a further seven days.
Watch this cube!
*The two people pictured are Brupaks staff -- don't confuse the man with me: he wouldn't be pleased.